Instant Pot Yogurt
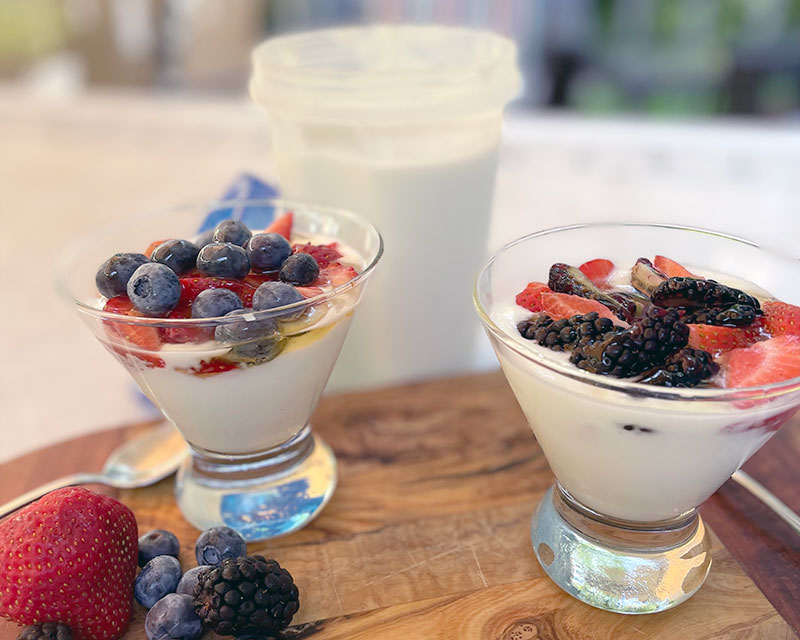
If you have never used the “Yogurt” function on your Instant Pot, our farmer-tested recipe is easy and foolproof. The process takes about 10 hours but is almost entirely hands-off. The Instant Pot provides a safe method to incubate yogurt cultures by maintaining a constant temperature in the target zone of 110 to 115 degrees F. Made with just two ingredients, you can make delicious yogurt at a fraction of the cost of store-bought. Topped with local berries and local honey, it is as fresh as it can be!
Yield: about 2 quarts + whey
Equipment Needed
- 6-8 quart Instant Pot or multicooker
- Instant read thermometer
- Whisk, measuring cups, and measuring spoons
- Plastic wrap
- Cheesecloth or yogurt strainer
Ingredients
- 8 cups The Farmer’s Cow Milk (Whole or Low Fat)
- 2 tbsp yogurt containing live cultures (not just “made with”)
Directions
- The critical first step is to thoroughly clean the Instant Pot. This is essential to creating a safe environment to grow a culture. Thoroughly wash the Instant Pot's stainless steel insert, lid, and sealing ring with hot, soapy water, rinse with hot running water, and dry with a clean kitchen towel.
- Pour the milk into the clean, dry Instant Pot insert. Lock the lid in place with the pressure valve open. Press the yogurt button until it says “boil,” then press start.
- After 25 to 35 minutes (depending on your model), the Instant Pot will beep indicating the boiling cycle has finished. Stay close as your model may take more or less time to reach the target temperature.
- Check the milk’s temperature using an instant-read thermometer. The goal isn’t 212°F but rather 180° to 200°F. If the milk is 180°F, remove the insert and let cool at room temperature for about an hour. Alternatively, you can rapidly cool the mixture by filling your sink with ice water and gently submerging the bottom of the insert in the ice water — this will take about 10 minutes. The temperature goal for cooling is 110°F.
- Return the insert to the Instant Pot (make sure the bottom is dry if you use the rapid cooling method). With a clean ladle, scoop about 1 cup of the warm milk into a small bowl or measuring cup with a spout. Add the live-culture yogurt and whisk to combine. Return the yogurt mixture to the Instant Pot and whisk gently.
- Lock the lid in place with the pressure valve open. Press the yogurt button until it reads 8:00, then press start. This begins a count-up clock during the incubation period.
- The yogurt will begin to thicken after about 3 hours. Do not open the lid or disturb the yogurt for at least 6 hours. At this point, you can check the thickness and flavor by gently dipping a spoon into the yogurt, being careful not to stir the pot. Continue cooking for 8 to 10 hours until it reaches the desired consistency and tanginess. The longer it cooks, the tangier it will be.
- Once the yogurt is cooked to your liking, prepare to strain it by lining a colander with one layer of cheesecloth and setting it over a bowl to catch the whey. Pour the yogurt into the lined strainer. Place everything in the refrigerator to continue to strain for 2-3 hours for regular yogurt or 4-5 hours for thicker "Greek" style.
- Transfer yogurt to airtight containers and store in the refrigerator for up to two weeks.
- Save the reserved whey for various uses, including as a yogurt starter or a buttermilk substitute in recipes. It is loaded with vitamins, minerals, probiotics, and protein, and stays fresh for at least a few weeks in the refrigerator or frozen for several months.
When you’re done, reserve a few tablespoons of yogurt or whey to use as a starter for your next batch!
Date Posted: July 24, 2024
Latest Recipes
Recipe Pages
Can’t find what you’re looking for?


